
Vintage paper medallions with waxed paper rosettes

For materials you will need these items:
2 5 3/4" x 7" sheets of book paper (preferably something with natural aged color)
6 3" sepia tones aged paper circles with text
1 white paper doily approx 6"
1 small grommet
twine or crochet thread
fancy shank button
3" x 3" chipboard circle or square

Tools for this project:
4 paper clips or clothespins
paper hole punch
grommet setter
crochet hook
scissors
paper glue

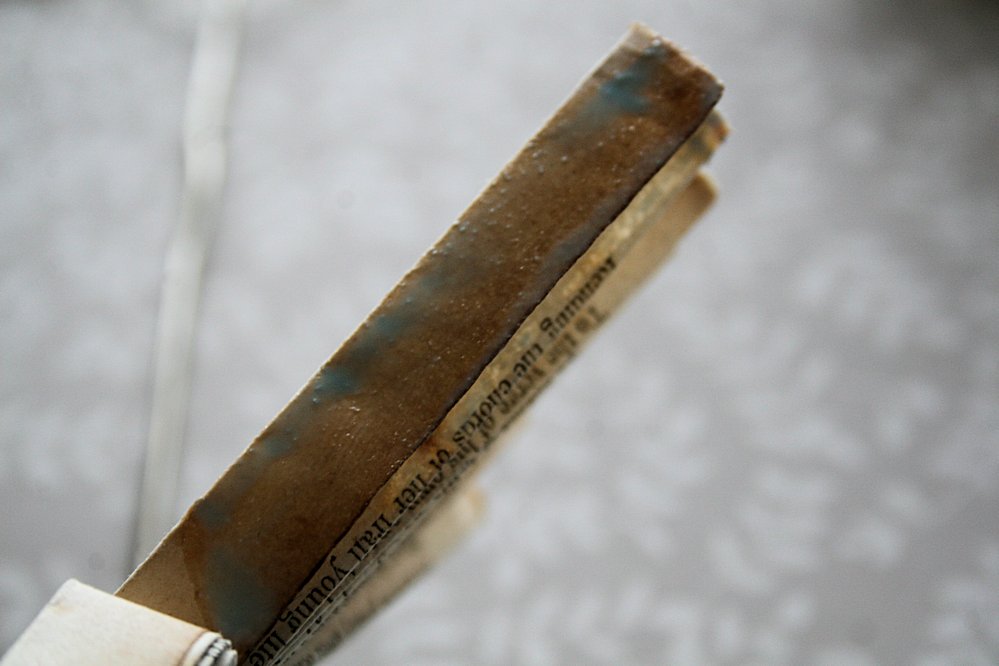
I ran the rounded end of my crochet hook along the score lines of my paper cutter.
Super easy!
Fold along the score lines. Notice the ends are both facing UP?
There's good reason for that! You'll see.

You should have two accordions tied together.
Leave at least 4" tails. You'll need those for gathering everything together soon!

and when you have them lined up just perfectly, clip them along just the ends.
Flip the accordion over to be certain you have your folds nice and even.


While the glue sets up, punch some circles and then punch a hole in the center of those circles.


Line up the circles using your crochet hook.
This will help set the grommet a lot easier.
You might be able to skip this step but the grommet adds a little stability to these antique papers and makes threading the project a lot easier later on. You'll see...

You should have this.

Using the crochet hook, thread a 12" long twine or crochet thread through the shank button back.

And pull the thread through the grommet on your stack of circles

You should have this

Remember the two openings on the accordion center?
Pull one thread through each side of those openings. Use the crochet hook. It is so easy!

Pull the threads tight and tie in a double knot in the back.

The front should look like this

Start scrunching up the layers of circles one at a time around the shank button.

It should look like this when you finish

Push the crochet hook through the center hole of a doily and your chipboard backing

Like this, tie it in a knot and tape the ends down, pulling the strings together at one end.

You can hide all the backing mess with another scalloped edge circle. Punch a hole in the card to make the medallion a tag!

All finished! So easy! No hot glue required! No fumbling with a fold down center! You have a nice text pattern all around the medallion! Isn't this lovely!
3 comments:
Hi, I saw your things on Etsy and found your blog. Love it! I am now a follower. PS- thanks for the tutorial.
Welcome to my blog, Diane. I'm so glad you are here. I could use more followers!
Wow, this looks amazing! Thanks for the tutorial! Hugs, Elizabeth
Post a Comment